
We have two different page builders in place: WP Bakery and Elementor. Elementor is used on the KCI Shop website, on Green Steel World and on the Hydrogen Tech World website. All other sites use WP Bakery. This article describes how to publish a post (‘normal’ news post and a Featured Story) with Elementor.
Regular news post and Featured Story #
First, the difference between a regular news article (Post) and a Featured Story (FS). Both are exactly the same from a publishing perspective.
The ‘only’ difference is that we see a FS as ‘premium’ content.
Featured Story #
Practically this means its a more in-depth article with more pictures and a more complex and professional layout. Our visitors must see this type of content as ‘premium’ content. In the online publishing world an article like this is also called a long-read. With premium content we’re able to provide the visitor more information, we show the visitor that we are a professional publishing company and at the same time, we hope to keep our visitors longer on our site.
We can enrich a FS with different types of content next to text. Think of multiple photos, images, a map, an embedded video or an audio file. Also we can use different column structures or highlight sections of text.
From a technical perspective we use a slightly different layout for the template/design to make a visual disctinction. For example, a Featured Story does not have a sidebar, we want to focus on the content.
For sites like Valve World and Stainless Steel World we can use customer interviews and cover stories for our Featured Stories.
Regular news posts #
‘Normal’ news posts are mainly shorter articles like Press Releases and do not contain many web components, next to text and an image.
The process to create a regular news post or Featured Story is almost identical. As you know know, mainly the content varies.
First steps #
As with all content you publish on any site there are a few guidelines. A few highlights here.
Make sure if you have a longer text that you use headings to divide the post in paragraphs. Especially with a longer post or Featured Story it better to divide your page in paragraphs, its much more easier to read. Secondly make sure that your photos and images are small (in filesize). The smaller the image, the faster the post will load for visitors. Before you upload them use a tool like tinypng.com ( link opens in new window: tinypng.com).
More guidelines can be found here on our Hlep and Support website: Tips and Guidelines when creating posts, Writing and formatting guidelines, and Tips for writing. Make sure you read these posts as it helps our visitors with a more convenient reading experience but also it will help us ranking higher in Google and other search engines (SEO). This means that more people on the internet will find our content.
Now its time to create a post.
A. Add a new post #
- Login to WordPress en click Posts – Add new
- Enter the following information:
- Title
- Excerpt (summary) will appear below the Featured Image
- Select a category for the post. For a regular post select the category “news” and one additional category. For Featured Story, just select the “Featured Story” category
- Add 3 to 5 tags in the Tag section, these will appear at the bottom of the article and invite people to click to similar news items
- Upload the Featured Image
- Select the Author (the Author will appear below the post)
- Once completed, save to new post to draft by clicking “Save Draft” in the right top corner.

First step to create a new post or Featured Story (Title, Excerpt, Featured Image, Category/Categories and Author)
B. Switch to Elementor #
Once saved in draft, click the blue button “Edit with Elementor”. This click will open the Elementor page builder where we will add the content of the post. This may be text, images, photos, links and embeds (video) or for example a sound file.
C. Build the content with Elementor #

Overview after starting Elementor
- Once Elementor is started we see something similar to the image above.
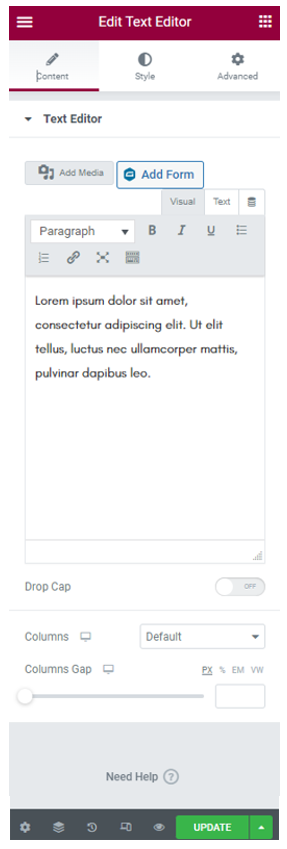
First we look at the content. We see the title, we see the news categories, we see the Featured Image on top of the content and we see the excerpt. Note that we can’t change this content here while we are in Elementor, we have to do that in ‘plain editting mode’ as described in step A.On the right we see a sidebar. The content of the sidebar needs to be changed by the Administrator elsewhere in WordPress.Lastly we see on the left a long menu with widgets. A widget is a component with a certain function. For example a text widget allows you to add text, an image widget with gives the function to add an image or photo to the page, a button widget creates a button where you only have to punt on a text and a link. There are many widgets available to use. The best way is to try them put yourself and find out all the possibilities. These widget can dragged on the page. - Below the text (Excerpt) on the above screenshot you see an option to drag a widget, ‘Drag widget here’. So you can drag for exemple a Text Editor widget on the left on the content canvas. Once the widget is dropped you have many options to work on the text on the left hand side. See for example the Text Editor widget settings below. Most widgets have three tabs “Content”, “Style” and “Advanced”. With the functions in these three tabs you can create any type of text you want, you can format the text and change colors or you can use the Avanced options to position text on the canvas.

Widget settings (text widget)
3. If you have added a text widget you can move your mouse over it. You will see three very small menu icons. The left one is the column settings (in the example below there’s only one column), in the middle the section settings and on the right the widget settings. When you click on them you see the all settings on the left hand side and you can change them.
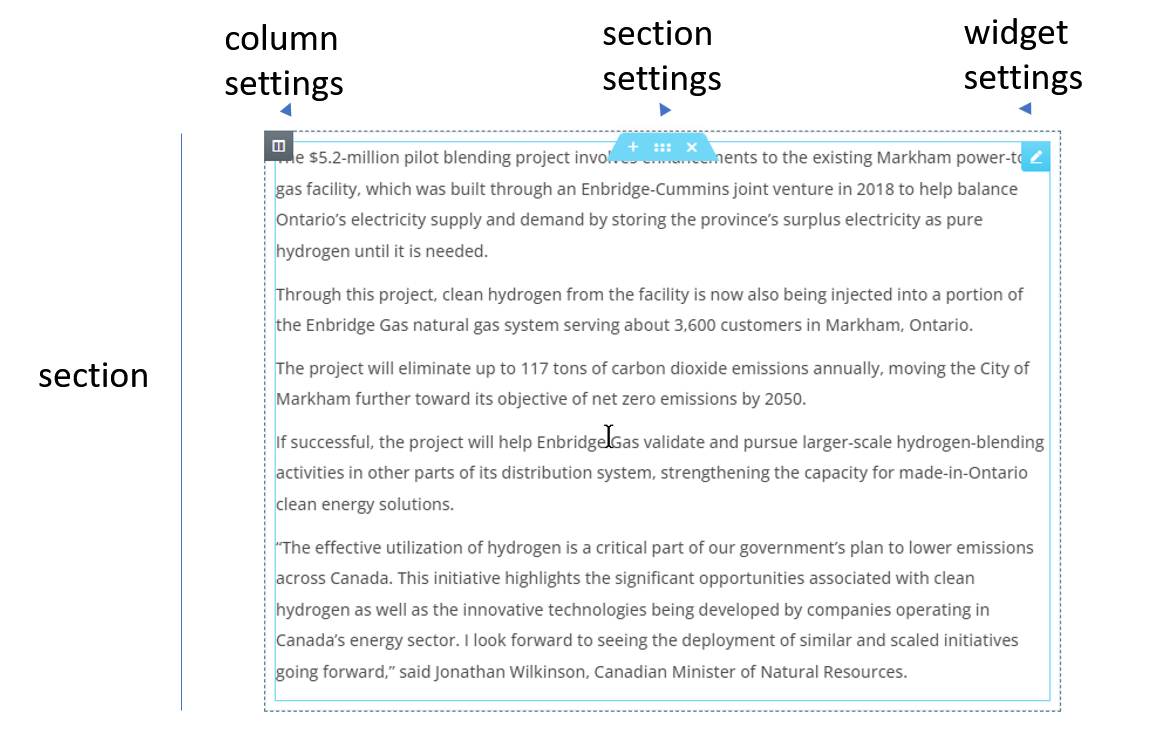
Section with column settings, section sections and widget settings
You can also right click these icons, you will get more options like duplicate, delete, copy and reset. The options differ per icon.
Lastly there’s always an option called Navigator. When you click Navigator a small popup will appear. This popup gives you an overview of the structure of your page so you can easily navigate through your post. Also you can perform drag and drop actions in the navigator. In this way you can move sections or widget through your page.
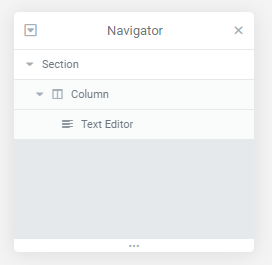
The Elementor Navigator for a post structure overview and options to drag and drop sections and widgets
4. If you look at the bottom of the post you see a box “Drag widget here” with two icons. You now have three options with this box.
- First, you can drag a widget from the menu on the left in this area, this is described above
- You can click on the left icon to create structure in your post with columns. There are 12 different column structures. In every column you can drag and drop widgets from the left hand menu
- Click the right icon to access the template library and import a predefined structure and design. This is an advanced option is not further described in this article

Create a section structure or access the template library
4. Once you’re ready with your post you can click in the left bottom of the post, the green Publish button. Then your post will be live visible for visitors on the website. For the Hydrogen Tech World website a news post will appear at the top of the screen, a Featured Story will appear in the middle of the homepage.
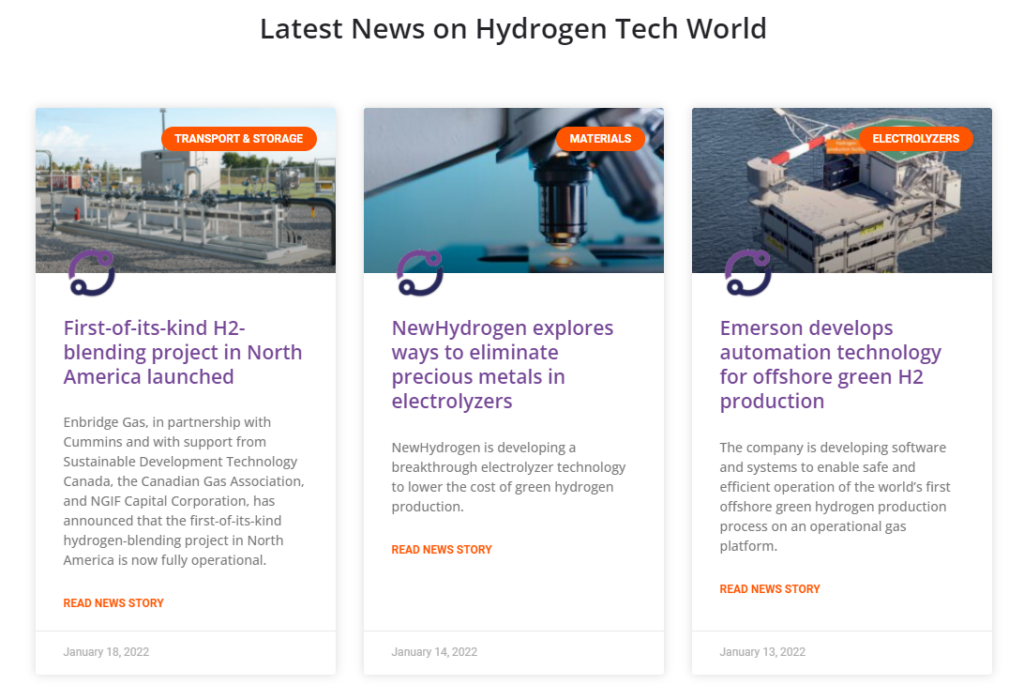
News section homepage
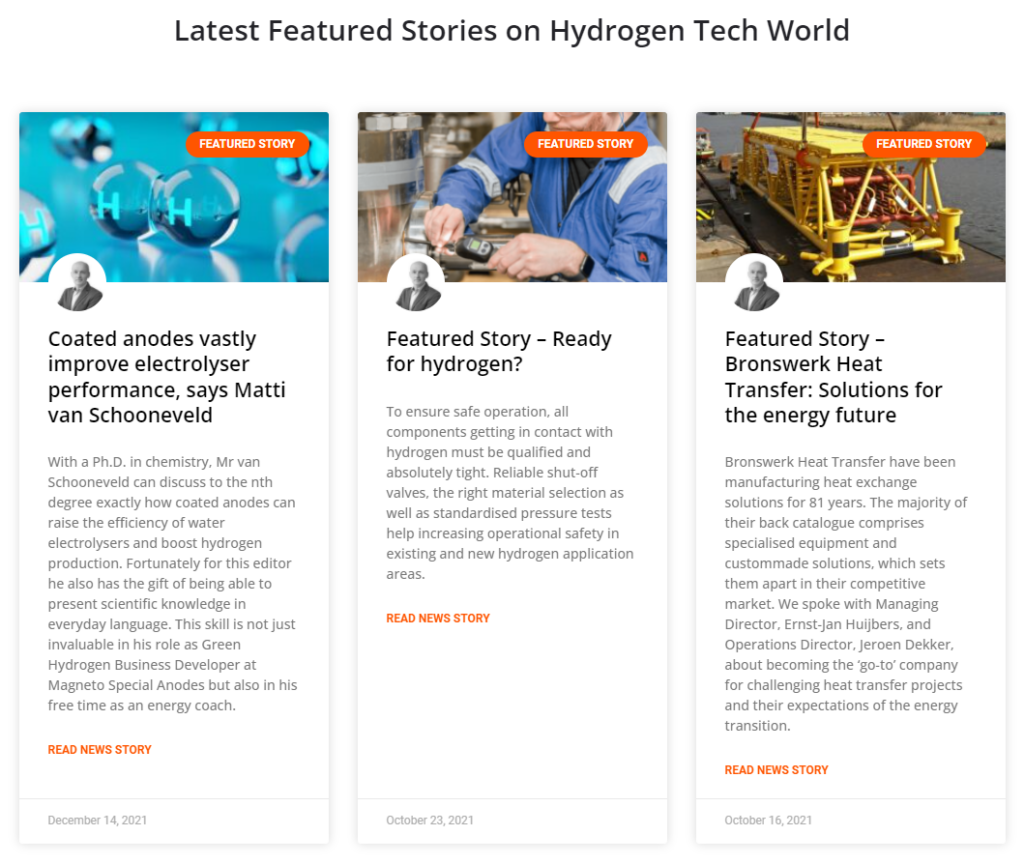
Featured Story section homepage
If you don’t want your post live yet, you can click the small arrow-up icon and save your post as draft. You can view the post in draft by clicking on the eye icon, next to the green button. Once you have published your post you can obviously update it. Then the text Update will appear on the green button.
Publish, Update and Preview options


